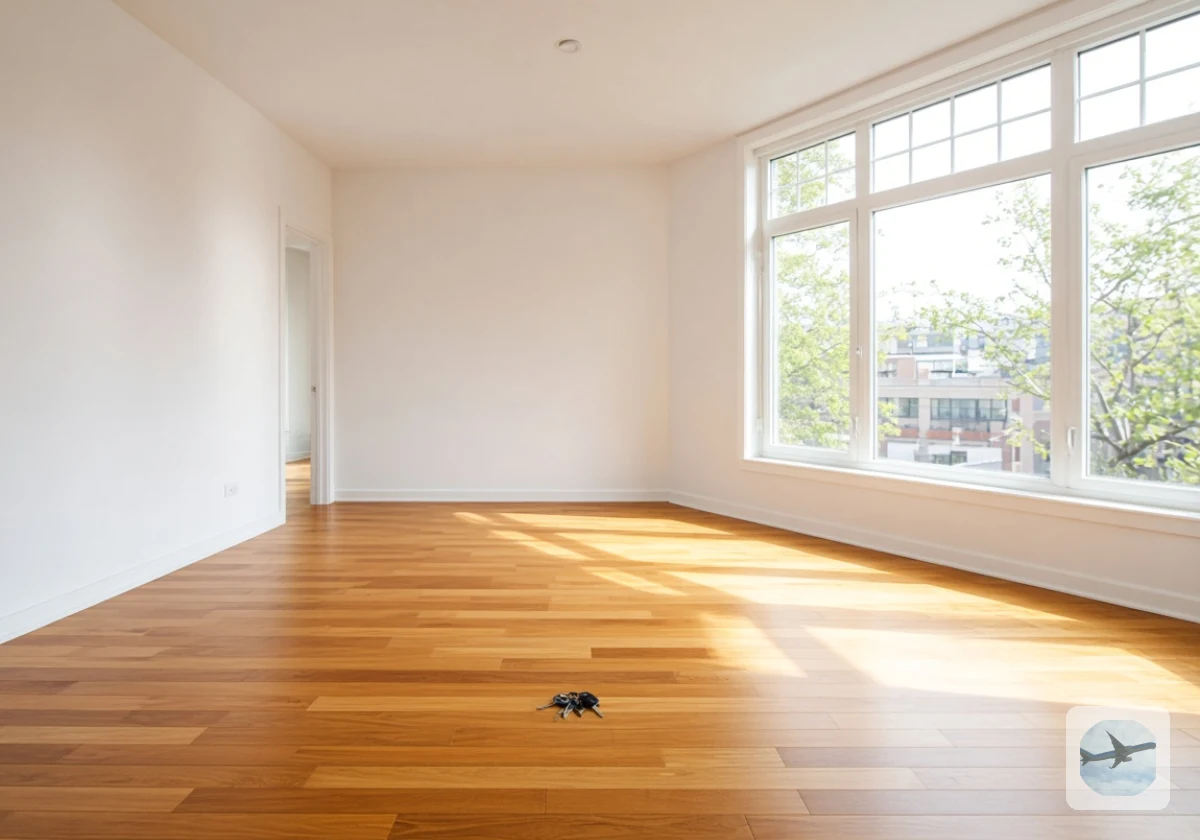
A rental exit inspection checklist helps protect your deposit when you have dated photos and your original move-in report to support it. Once you’ve moved overseas, these records will help you challenge any unfair claims without returning to the property.
At IBRC Bali, we know how easy it is to overlook rental exit tasks when moving overseas. That’s why we include them in your relocation plan from the start.
This guide explains how to use your move-in checklist and what landlords check during inspections. It also covers how to handle deposit disputes after you’ve moved overseas.
Your Move-In Document Sets the Baseline for Every Rental Property Move-Out Checklist

Your signed move-in checklist shows which marks or damage were already there. Without it, every scuff becomes your word against the landlord’s.
Your first step is to find that original record. Check your lease emails and landlord portal for a copy (you might also find one in your old cloud backups). Read it line by line while you stand in each room, and mark every item as unchanged, wear and tear, or new damage. Normal wear covers faded paint, while tenant damage means holes, burns, or broken fixtures.
If you can’t find your move-in report, check your old photos instead. Even a casual photo from moving day can prove a mark existed before your tenancy.
Building a Room-by-Room Rental Exit Inspection Checklist That Landlords Will Accept
A room-by-room rental exit inspection checklist helps you prepare for the landlord’s final walk-through. When you check each room in the same order, you’re less likely to miss anything.
The following sections explain what landlords check in each room.
What Landlords Check in Walls, Ceilings, and Floor Photos
Landlords look for holes, scuffs, stains, mismatched paint, carpet burns, and deep scratches in hard floors. Take photos of each wall from straight on and at an angle to capture marks that might not show up in flat light.
And add a wide shot of each ceiling, as landlords also check for water stains and signs of leaks. Your move-in photos serve as evidence that those marks predate your tenancy.
Kitchen Appliances: Oven, Refrigerator, and Dishwasher Tests
Each kitchen appliance should work properly before the final inspection. Check that every burner and the oven heat up, the dishwasher completes a short cycle, and the refrigerator stays cold and empty. Short videos of each appliance in use provide better proof of its working condition than still photos.
The stove hood and cabinets also need a quick check for grease. Grease often shows up clearly in inspection photos, but a quick wipe usually removes it.
Bathroom Grout, Drains, and Moisture Signs
When checking the bathroom, landlords usually look for mold in the grout, slow drains, and peeling ceiling paint. So if you record the taps running and toilets flushing, you’ll have proof that the plumbing worked during the inspection.
Clean any mold from the grout before the inspection and photograph the result. Clean the affected areas and take photos afterward (poor ventilation in older bathrooms often causes mold).
Do the Windows, Doors, and Locks Still Work?
Yes, all windows, doors, and locks should open, close, and work properly. Landlords test them during the final inspection. If you report a sticking lock before moving out, it’s more likely to be treated as a maintenance issue than tenant damage.
Window screens and blinds also need a quick check before the inspection. Photos taken while they’re closed can show bent slats more clearly, especially when light shines through them.
Smoke Detectors, Outlets, and Light Fixtures
Each smoke detector should respond to its test button, while all outlets, switches, and lights should work properly.
Along with checking each fixture, make sure all bulbs work before the final inspection. Some landlords charge a fee for replacements. If an outlet doesn’t work, report it by email so you have a dated record of the issue.
Keys, Exterior Spaces, and the Final Clean
Have you returned every key and access device? These are among the last items landlords check during a move-out inspection. Count each key, fob, and garage opener, take a photo of them together, and ask for a dated receipt when you hand them back.
Once the furniture is out, patios and balconies need attention too. Sweep these areas and clean the floors before taking your final photos. A clean floor makes scratches and other damage easier to spot.
Setting the Move-Out Inspection Date Before You Book Flights
Your move-out inspection date should be set before you book your flight home. If you’re renting in California, the Sacramento County Public Law Library’s 2024 guide explains your California pre-move-out inspection rights clearly.
Under California Civil Code 1950.5(f), you can request a pre-move-out inspection before leaving the property. This gives you time to fix any issues the landlord finds. Other states have different rules, so check your local statute and request the inspection in writing regardless of where you rent.
After confirming the inspection date, add it to your global relocation timelines. Leave a few extra days before your flight in case the landlord asks you to fix anything.

How Do You Build Tenancy Deposit Documentation When You Can’t Return?
Dated photos, videos, and written inspection notes form the core of your evidence. These records support your case if a landlord raises a dispute after you have left the country.
A signed rental inspection report also helps prevent disagreements about the property’s condition. In our relocation work, a report signed by both parties has resolved disputes that photos alone could not. Since phones can get lost or reset during a move, save your files in a cloud folder. You can also share access with someone you trust.
Once your files are safe, run through this checklist for tenants before you lock the folder:
- Signed Baseline: Your move-in checklist shows the property’s condition when you arrived. If you do not have one, include the condition clause from your lease agreement. Highlight any clauses that describe pre-existing damage, since these carry legal weight if the landlord later claims you caused it.
- Room Photos and Video: Photos and videos with timestamps show the condition of each room, appliance, and fixture. Shoot at least four photos per room (one per wall) and one walkthrough video. Keep all files in a single cloud folder with the room name in each filename.
- Repair Emails: Save copies of every maintenance request you sent before moving out. These emails show when you reported each problem and whether the landlord responded. Forward them into your cloud folder and sort by date so the timeline is clear at a glance.
- Key Receipt: A dated receipt proves when you returned the keys, fobs, and garage opener. Give your landlord your forwarding address in writing at the same time. If they refuse to sign a receipt, photograph the handover and email confirmation of the return on the same day.
- Cleaning Receipts: Receipts from a professional cleaner show that you paid for a thorough end-of-lease clean. They also cap the amount a landlord can deduct for cleaning, since the work has already been done. Add these to your folder alongside the before-and-after photos of each room.
Before your flight, email the full folder to your landlord and keep a copy of the sent email. The date will help prove when you shared the records if a deposit dispute comes up later.
Tenant Resources for Deposit Disputes: State Deadlines, Forms, and Contacts Abroad
Security deposit rules differ by state, so the steps to get your money back depend on where you rented. The resources below explain local rules, list the right contacts, and show how to handle disputes from overseas.
Use this table to find the right contact for each type of deposit issue:
| Resource | What It Covers | How to Use It From Abroad |
|---|---|---|
| Your state’s landlord-tenant statute | Deposit return deadline and allowed deductions | Add the deadline to your calendar before you leave |
| County public law library | Plain-language guides and court forms | Email a reference librarian your question |
| Small claims court | Claims over an unreturned deposit | Check whether it accepts online filing or a representative |
| Your landlord or property management office | The itemized deductions statement | Give a forwarding email and mailing address in writing |
Start with your landlord, as they’ll need your new address to send the security deposit deductions. In our relocation work, we’ve seen tenants forget this step during their final week abroad.

Lock Down Your Property Condition Evidence Before You Board
Your move-in record and dated exit photos give you proof of the property’s condition when you leave. Once you’re overseas, these records will support your case if your landlord questions the property’s condition or disputes your deposit.
Book your inspection date this week, then work through the checklist one room at a time. Save every photo to the cloud before you hand back the keys.
Ready to plan the rest of your move? Contact IBRC Bali for help lining up your lease exit, relocation paperwork, and travel dates.